Product Description
Product Description
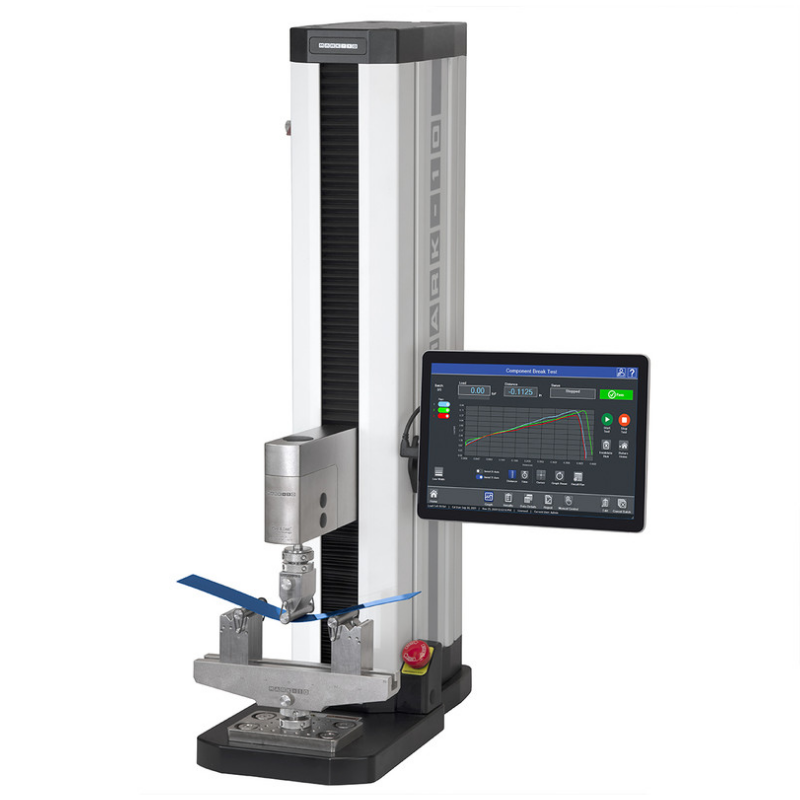
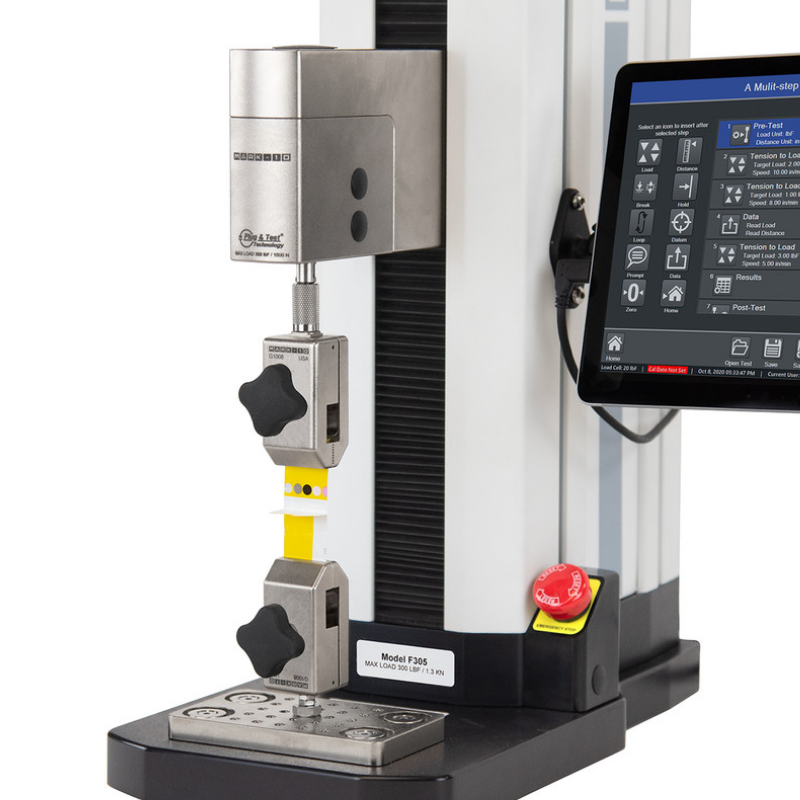
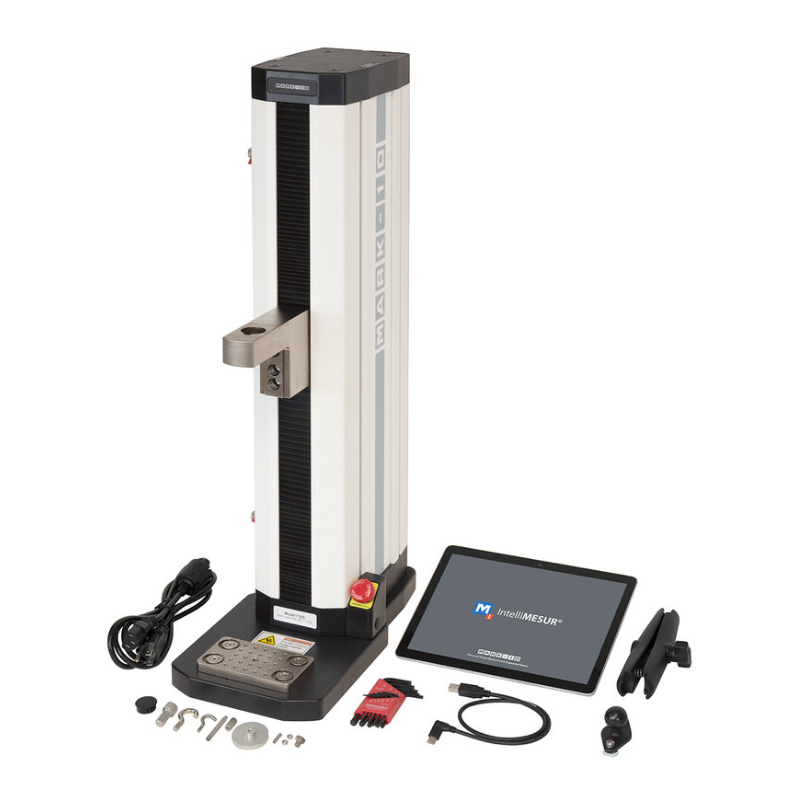
The F305-IMT Test frame comes with IntelliMESUR® pre-loaded tablet control panel. Engineered for tension and compression force testing applications, it has a force capability of 300 lbF.
Set up tests, record data, and analyze data via IntelliMESUR® software. From basic tests to multi-step sequencing, IntelliMESUR® is fully integrated with Series F systems. Select from a pre-configured tablet control panel or standalone software for your own Windows device.
F305-IMT Features
- Rigid and precise by design
- Conveniently modular
- External limit switches: Solid-state upper and lower limit switches may be used as test limits or as test exceptions; dual-graduated rulers aid in switch placement
- Seamless force sensor interface (sold separately)
- Easy-to-service electronics: Most electronics are housed in an integrated module, easily replaced without special tools or processes
- Set up tests, record data, and analyze data via IntelliMESUR® software; from basic tests to multi-step sequencing, it is fully integrated
F305-IMT Applications
- Force testing: Peel, wire tensile, compression spring, 90° peel, score bend, and tension spring testing
- Food packaging
- Electronics
- Consumer products
- Aerospace manufacturing
- IntelliMESUR software
- Integrated motion control and data collection solution
IntelliMESUR®
IntelliMESUR® software is an integrated solution running on Windows tablets and PCs. Perform individual runs or batches, and view data in graphical format or results tables. Save or export data as needed, or generate a report. With IntelliMESUR®, you can create and run a wide range of basic and multi-step tests, including:
- Limit testing to a load, break, or distance
- Height measurement
- Load holding
- Cycle testing
- Multi-step testing, utilizing any combination of motion control and data collection functions
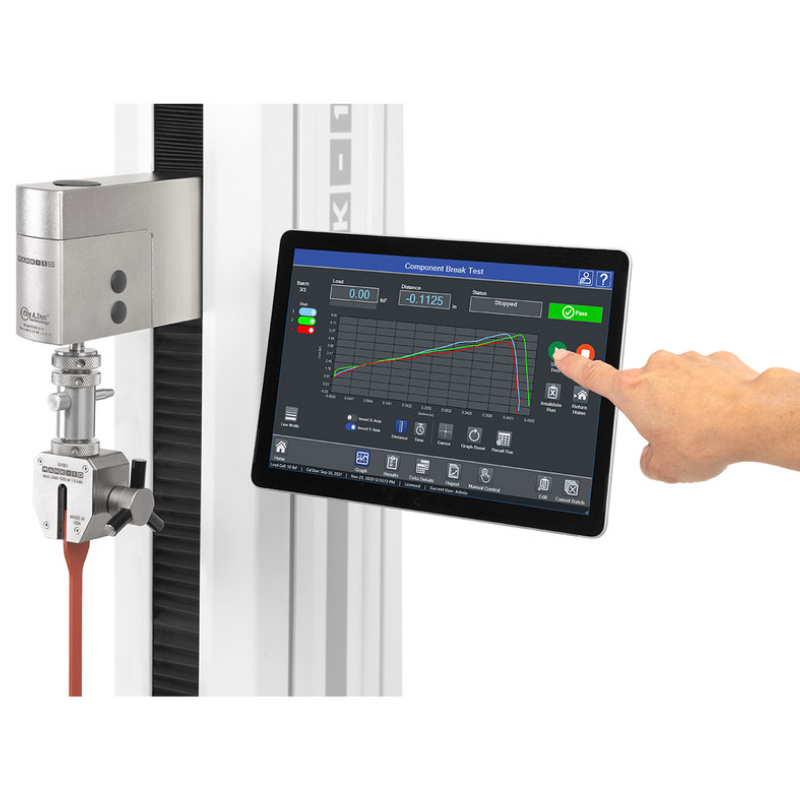
Run a test via the Graph or Results views, and switch views as needed. Pass/Fail indicator easily identifies problematic samples. Individual runs may be invalidated if, for example, the sample slips out of the grips, or the test was interrupted.
Graph view: The Graph view plots force vs. distance or force vs. time, and overlay up to 10 runs for visual comparisons
Results view: The Results view displays user-selected results for each run, and statistics may be applied to selected results
Test setup is easy as 1-2-3
Select a test type, and IntelliMESUR® will guide you through the setup. Test types include: Load Limit, Distance Limit, Break Limit, Load Hold, and Cycle.
- Pre-test settings
- Units of measurement
- Batch size
- Display preferences
- Preload
- Operator prompts
- Test settings
- Test objective
- Speed
- Pass/fail limits
- Exception limits
- Results and statistics selection
- Final load
- Minimum/maximum load
- Load at minimum/maximum distance
- Load at break
- Average/delta load
- Minimum/maximum/final distance
- Height
- Distance at minimum/maximum load
- Distance at break
- Delta distance
- Area under the curve
- Multi-step tests
Building upon basic test wizards, easily incorporate any combination of steps, with the ability to loop a sequence of steps. Select from:
- Move to load
- Move to distance
- Move to break
- Hold a load or position
- Loop/cycle
- Datum
- Prompts
- Save current load or position
- Zero load or position
- Return to Home position
- Operator prompting
Prompts can appear at the beginning of each test, batch, or run. Ask prompts ask the operator for information which is saved in the results table – for example, a lot number. Type the response or use a barcode scanner. Tell prompts provide instructions to the operator, and can include an image.
Take your measurements to new heights
Use Height Mode to determine the height at a specific load, commonly used in spring testing. A datum may be set to define the reference point.
Deflection compensation
Deflection-compensated is done at the factory, resulting in system distance measurement accuracy of ±0.002″/0.05 mm at any load and at any position along the frame. To further compensate grips and attachments, use IntelliMESUR®’s deflection compensation utility. The deflection offset file can be associated with the test setup file.
Blazingly fast
IntelliMESUR® collects load and travel data at up to 1000 Hz, and allows up to 4 million data points per run.
Customizable reporting
Print or create a PDF report, including results, statistics, graph, system and user information, and comments. Personalize the report with your company logo and an additional image. Create report templates to save with future reports.
Save or export data
Automatically or manually save individual runs and results to a USB drive or file location of your choice. File names are automatically generated with the test name and time stamp, for quick search-ability. Results sets and data from individual runs may also be exported as .csv files.
Secure user access
Control user access with three permissions levels:
Administrators have full access
Supervisors can create a test, run reports, calibrate force sensors, and change settings
Operators may recall and run a test, but cannot create a test or perform more advanced functions
Intelligent manual control
Manually control the test frame to obtain quick force and distance results, or manually position the crosshead prior to a test. Select from several actuation methods, including momentary (button-hold), maintained (button release) motion, jog mode with three distance presets.
With the innovative FollowMe® function, push and pull on the force sensor to move the crosshead. Apply greater force to achieve faster motion. FollowMe® is responsive enough for quick positioning as well as fine adjustments.
The Height/Length Offset utility in Manual Control defines a reference point to accommodate applications in which grips cannot directly touch one another.
Field-upgradeable
Test frame firmware and IntelliMESUR® software can be updated in the field via a simple user interface. No need to schedule a service call or to ship hardware to the factory.
System requirements
- Windows 10 or later operating system
- Minimum 4 GB RAM
- Minimum monitor resolution of 1310 x 885
- Minimum of two USB ports (one for a license dongle, one for a cable to the test frame)
About Mark-10
Mark-10 is a designer and manufacturer of force and torque measurement products. Since 1979, they strive to provide customers with the most accurate products in the market. Their products range from handheld instruments to high-end systems used in labs, production lines, and research facilities. They specialize in supplying high-quality solutions for various industries, including automotive and packaging.
3-Year Warranty on All Products
Mark-10 Corporation warrants that its goods are free from defects in workmanship and materials for three years from delivery. If any goods become defective, Mark-10 will replace, repair, or refund the purchased price. Any modification, abuse, exposure to a corrosive environment, or use other than intended will void this warranty.
Learn more: https://mark-10.com/warranty/


